
How to Remove an Actuator Valve
author: ATHENA GROUP
2026-05-12
In industrial automation control, actuator valves are key components that control fluid flow. As a technology leader in this field, ValenTech understands the importance of equipment maintenance. Whether for electric or pneumatic actuators, as equipment ages or breaks down, maintenance staff often face one core question: how to remove an actuator valve safely and correctly. Improper removal can damage the valve stem, cause seal failure, or even lead to serious safety incidents. This document serves as a complete operation and maintenance guide to explain the full procedure of how to remove an actuator valve.
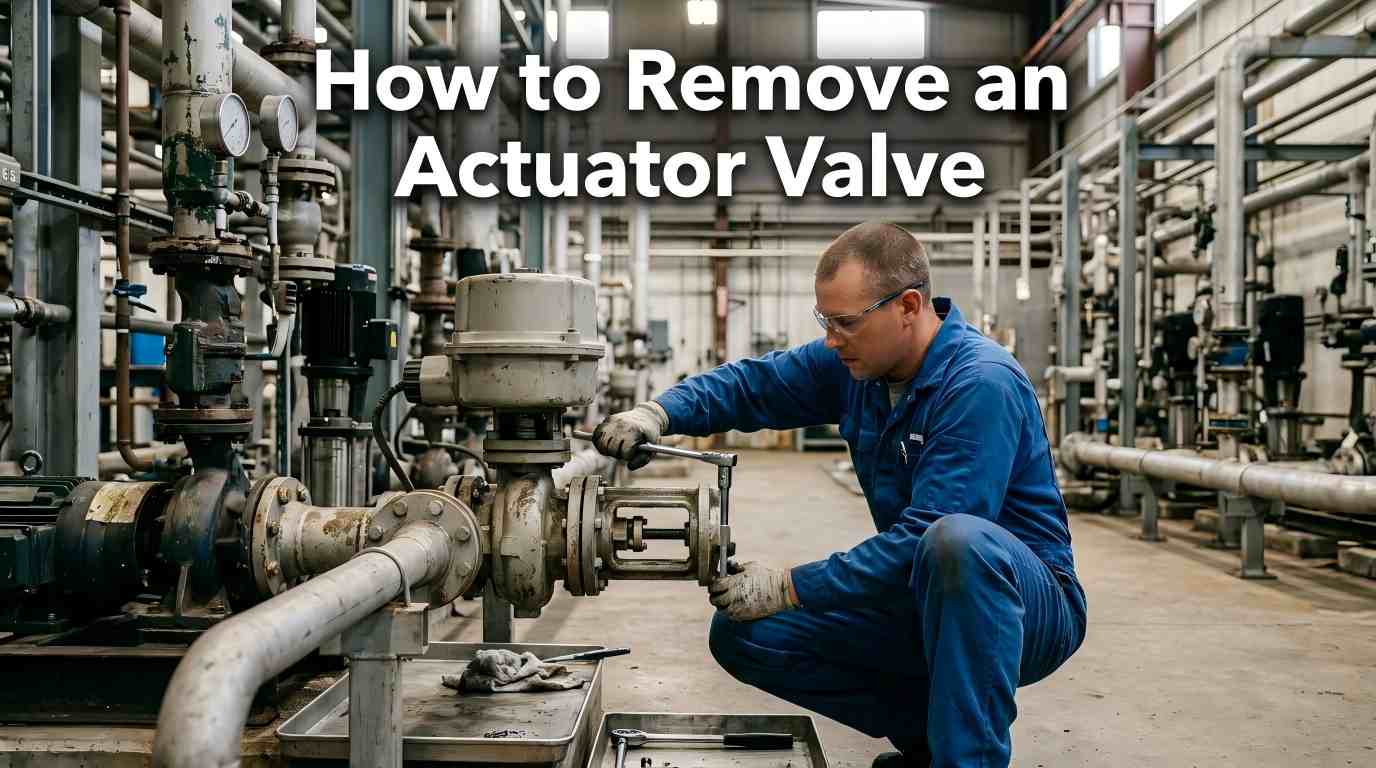
1. Safety Preparation and Risk Assessment
Complete safety checks before any work, in strict accordance with on-site industrial safety rules.
1.Disconnect Power Sources
- Electric actuators: Fully disconnect AC 220V/380V or DC 24V power, and perform Lockout/Tagout (LOTO) to prevent accidental startup.
- Pneumatic actuators: Close the air supply valve and release all residual pressure in the pipeline and actuator.
2.Pipeline Condition Handling
Fully relieve pressure in the pipelines before and after the valve, and reduce the medium temperature to a safe range to prevent injury from high-temperature, high-pressure, or corrosive fluid leaks.
3.Tools and Protection Preparation
Prepare hex wrenches, open-end wrenches, torque wrenches, lifting equipment (for large‑bore valves), rust remover, lubricant, and protective gloves.
2. Separate the Actuator from the Valve
The key step of how to remove an actuator valve is to separate the power head (actuator) from the valve body. There are two common connection types:
Bracket Connection
Most commonly used for electric actuators.
- Remove connecting bolts: Locate the four (or more) bolts between the actuator base and the valve bracket. Loosen bolts gradually using the diagonal method.
- Remove the actuator: Since actuators are usually heavy, use a lifting belt or hoist. Lift the actuator vertically upward to separate it from the valve stem.
- Protect spline/square shaft: During lifting, watch the connection between the valve stem and actuator output shaft (usually spline or square shaft). Do not pry forcefully to avoid damaging mating surfaces.
Direct Connection
Common for some pneumatic actuators or small electric valves.
- Remove circlips or bolts: Check for circlips or threads at the bottom of the actuator.
- Unscrew the actuator: For threaded connections, use a pipe wrench or special tool to turn counterclockwise for removal.
3. Inspect the Valve Stem and Internal Components
Once you remove the actuator, the top structure of the valve is exposed. This is the ideal time to inspect internal parts.
Valve Stem Inspection
- Check for bending, wear, or corrosion.
- Verify that the trapezoidal threads are in good condition — critical for driving efficiency.
Stuffing Box Inspection
- If repairing leaks, inspect the packing gland.
- When replacing packing, carefully remove old packing and install new packing in layers with staggered cuts.
Lubrication
- Apply high-temperature grease to valve stem threads and bearings.
4. Common Problems and Solutions When Removing an Actuator Valve
| Fault Symptom | Possible Causes | Solutions |
|---|---|---|
| Bolts rusted and stuck | Thread corrosion from long‑term humid environment | Spray rust remover, wait 15 minutes; or gently heat with a heat gun (keep away from seals). |
| Actuator hard to lift | Valve stem and bushing seized, or foreign material jammed | Do not lift forcibly. Tap around the valve body lightly or apply penetrating oil. |
| Valve core falls after removal | Connecting pin between core and stem broken | Check pin and threads; use thread locker during reassembly. |
5. Reassembly and Commissioning
Accurate Alignment
Set the actuator output shaft to match the valve stem (electric actuators usually to fully closed or mid‑position) to ensure coaxial alignment.
Install the Actuator
Apply a thin layer of grease on the valve stem and splines, lower the actuator vertically, and confirm full engagement without binding.
Bolt Tightening
Tighten bolts in three diagonal passes using a torque wrench for even loading to avoid leaks or deformation.
Function Test
Turn on power/air; test full open and full close operation. Verify limit switch accuracy, set proper torque protection, and confirm no leaks or abnormal noise.
Conclusion
Learning how to remove an actuator valve properly is not only a necessary maintenance skill but also critical to ensuring stable factory production. Correct removal avoids costly equipment damage and extends valve service life.
If you face complex conditions while removing an actuator valve, or need to replace high‑performance intelligent electric actuators, ValenTech provides professional technical support and customized solutions. Our engineering team is ready to help you optimize your valve control system for efficient and reliable industrial operation.
Professional Explanation and Application Guide for Valve Pressure Reduction
2026 Pneumatic Valve Actuator Procurement Guide
Related Article
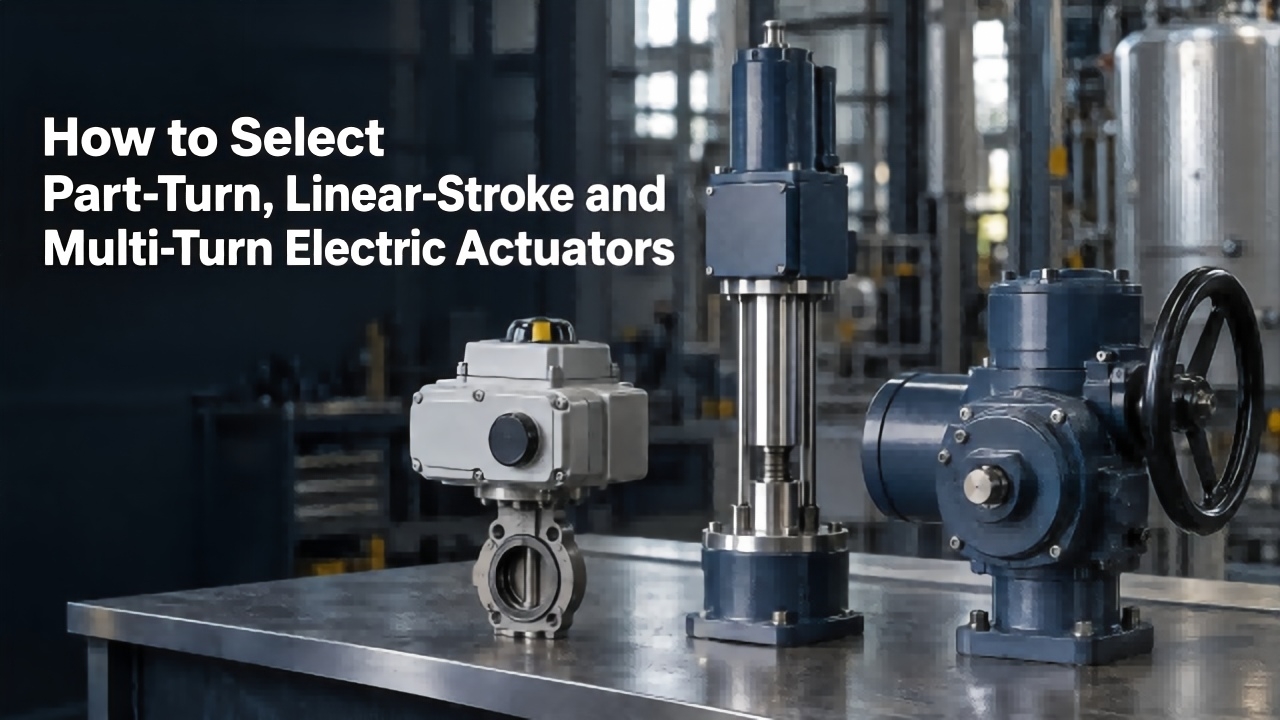
Learn differences among part‑turn, linear‑stroke and multi‑turn electric actuators. This guide covers matching valves, torque‑thrust calculation, 5‑step selection process and typical pitfalls for your industrial actuator applications.
How to Select Part‑Turn, Linear‑Stroke and Multi‑Turn Electric Actuators
Learn about electric actuator response speed, internal and external influencing factors and key selection points, to select suitable actuators for valve automation projects and ensure efficient and stable system operation.
Response Speed of Switch‑Type Electric Actuator
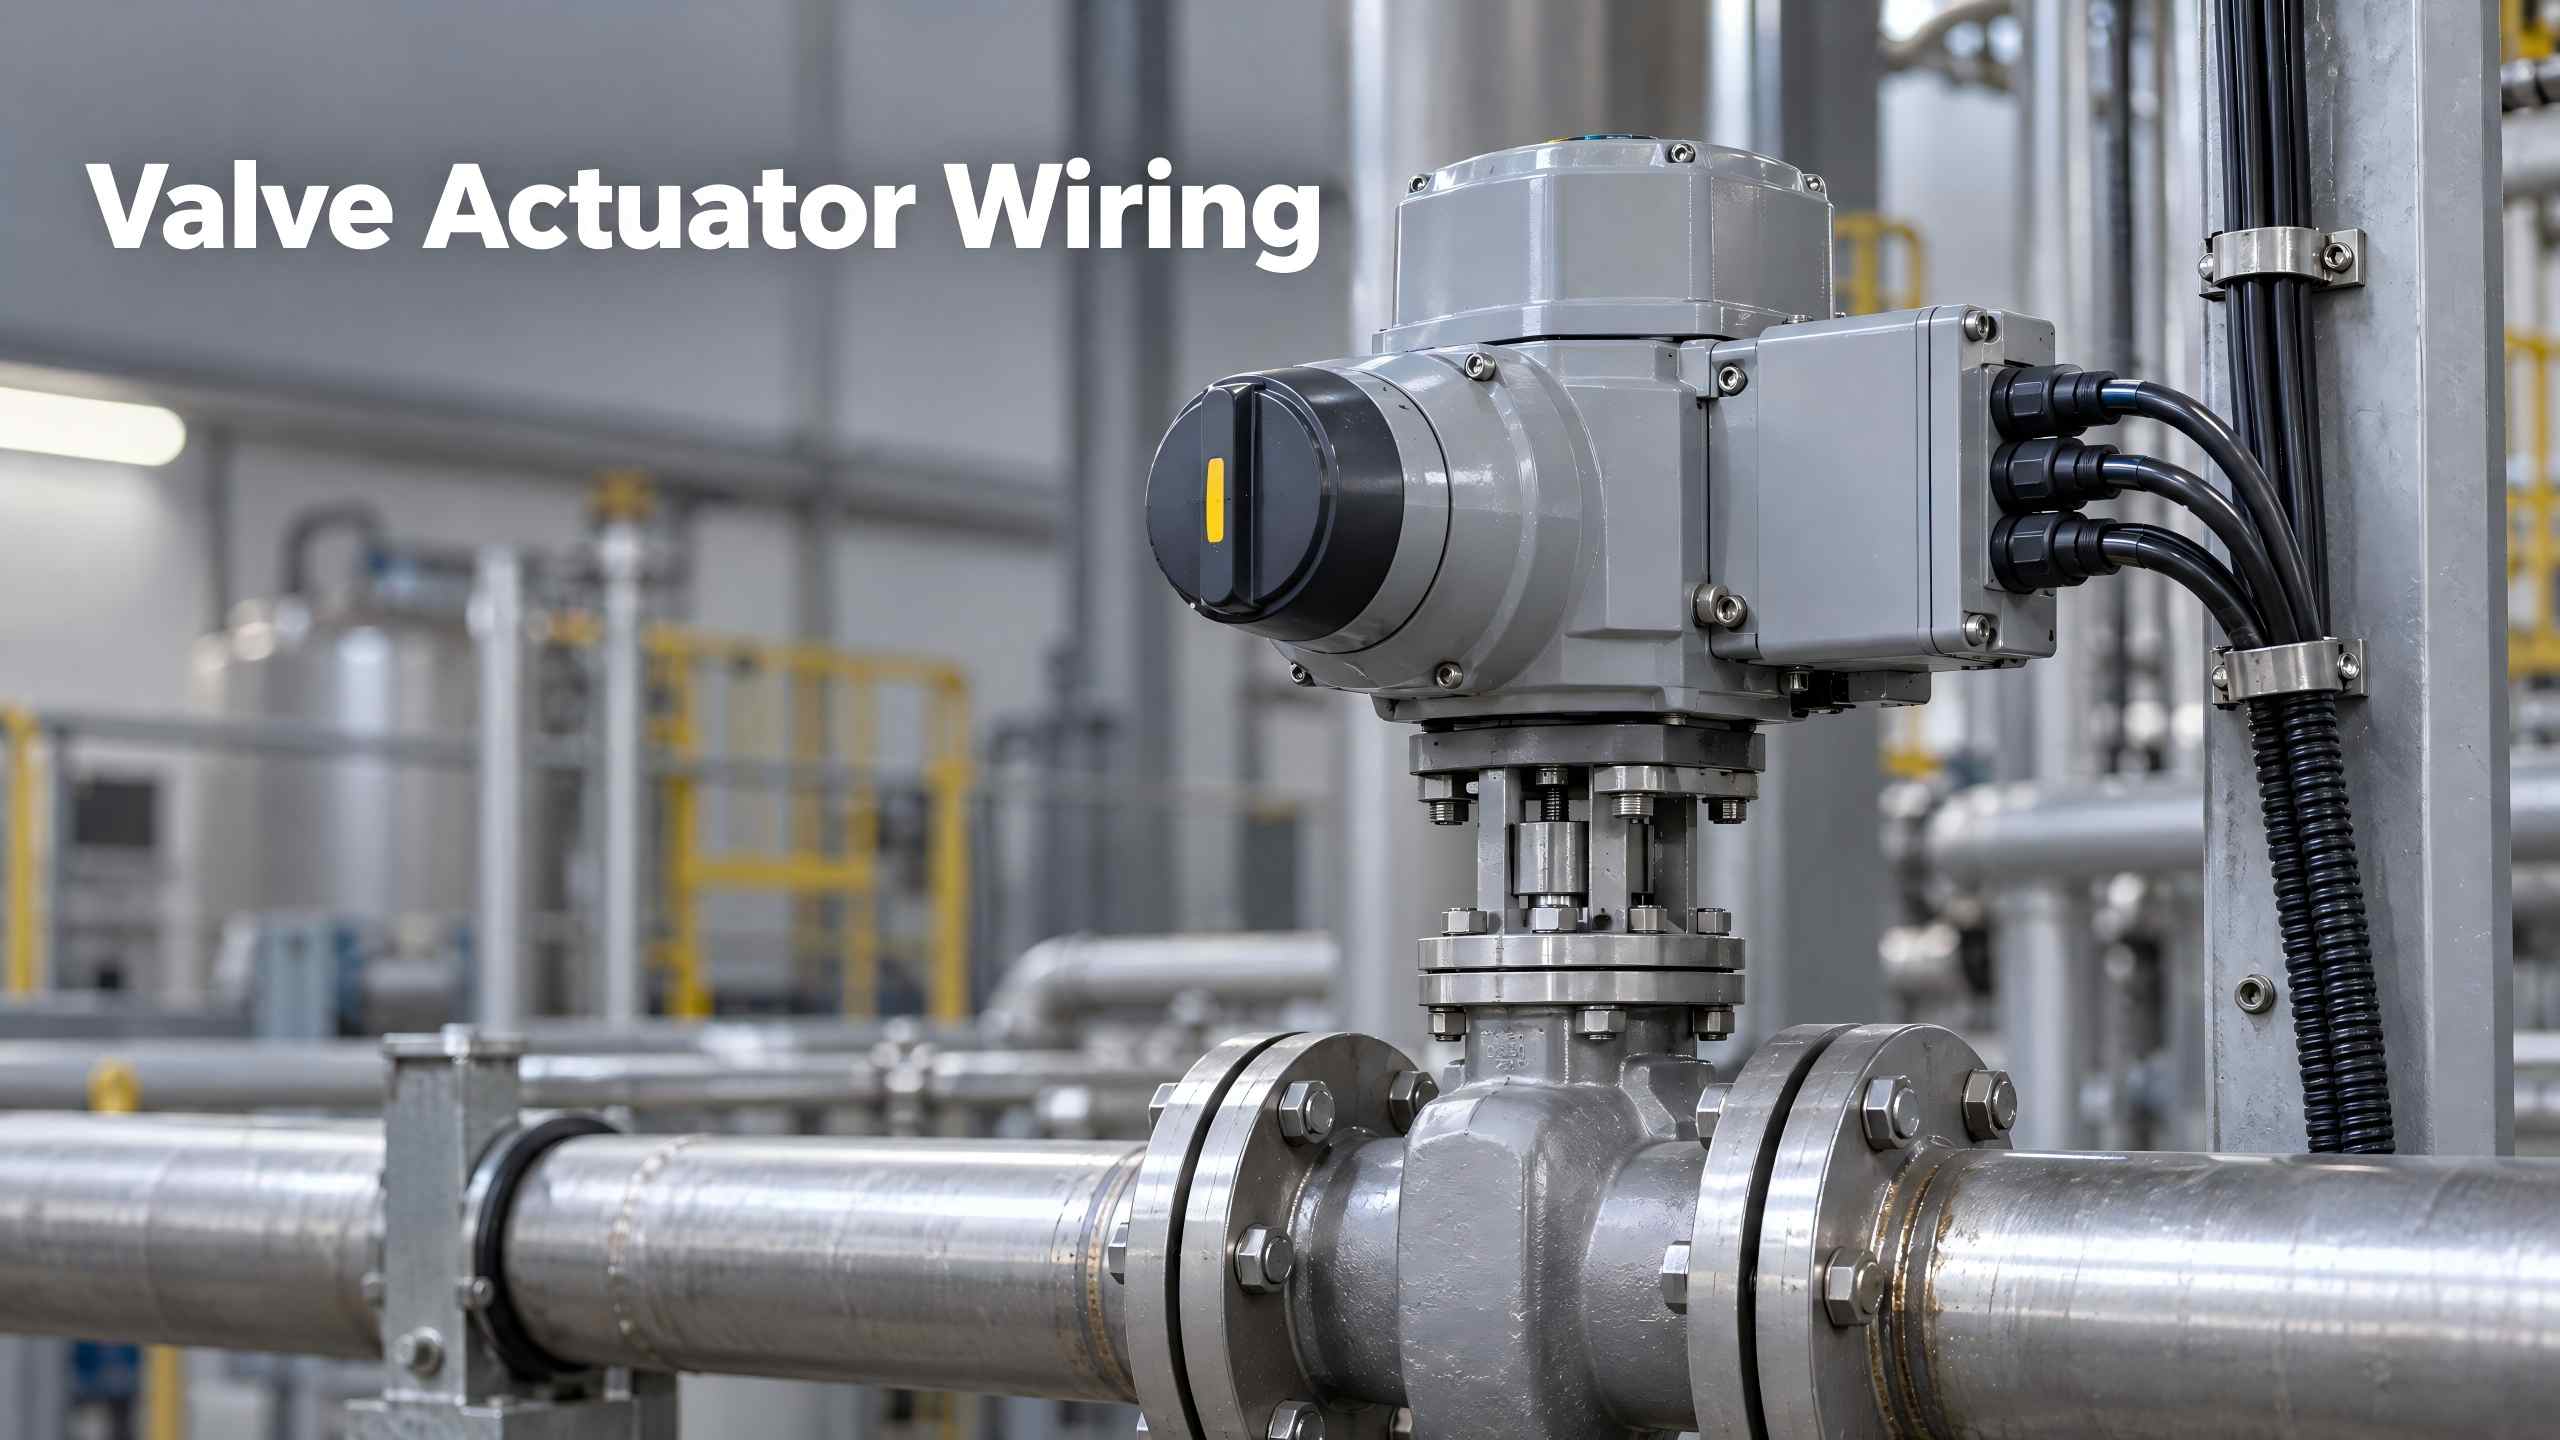
Valve Actuator Wiring describes wiring, commissioning and troubleshooting for electric valve actuators, guiding technicians to adopt standard wiring for stable industrial control.
Valve Actuator Wiring
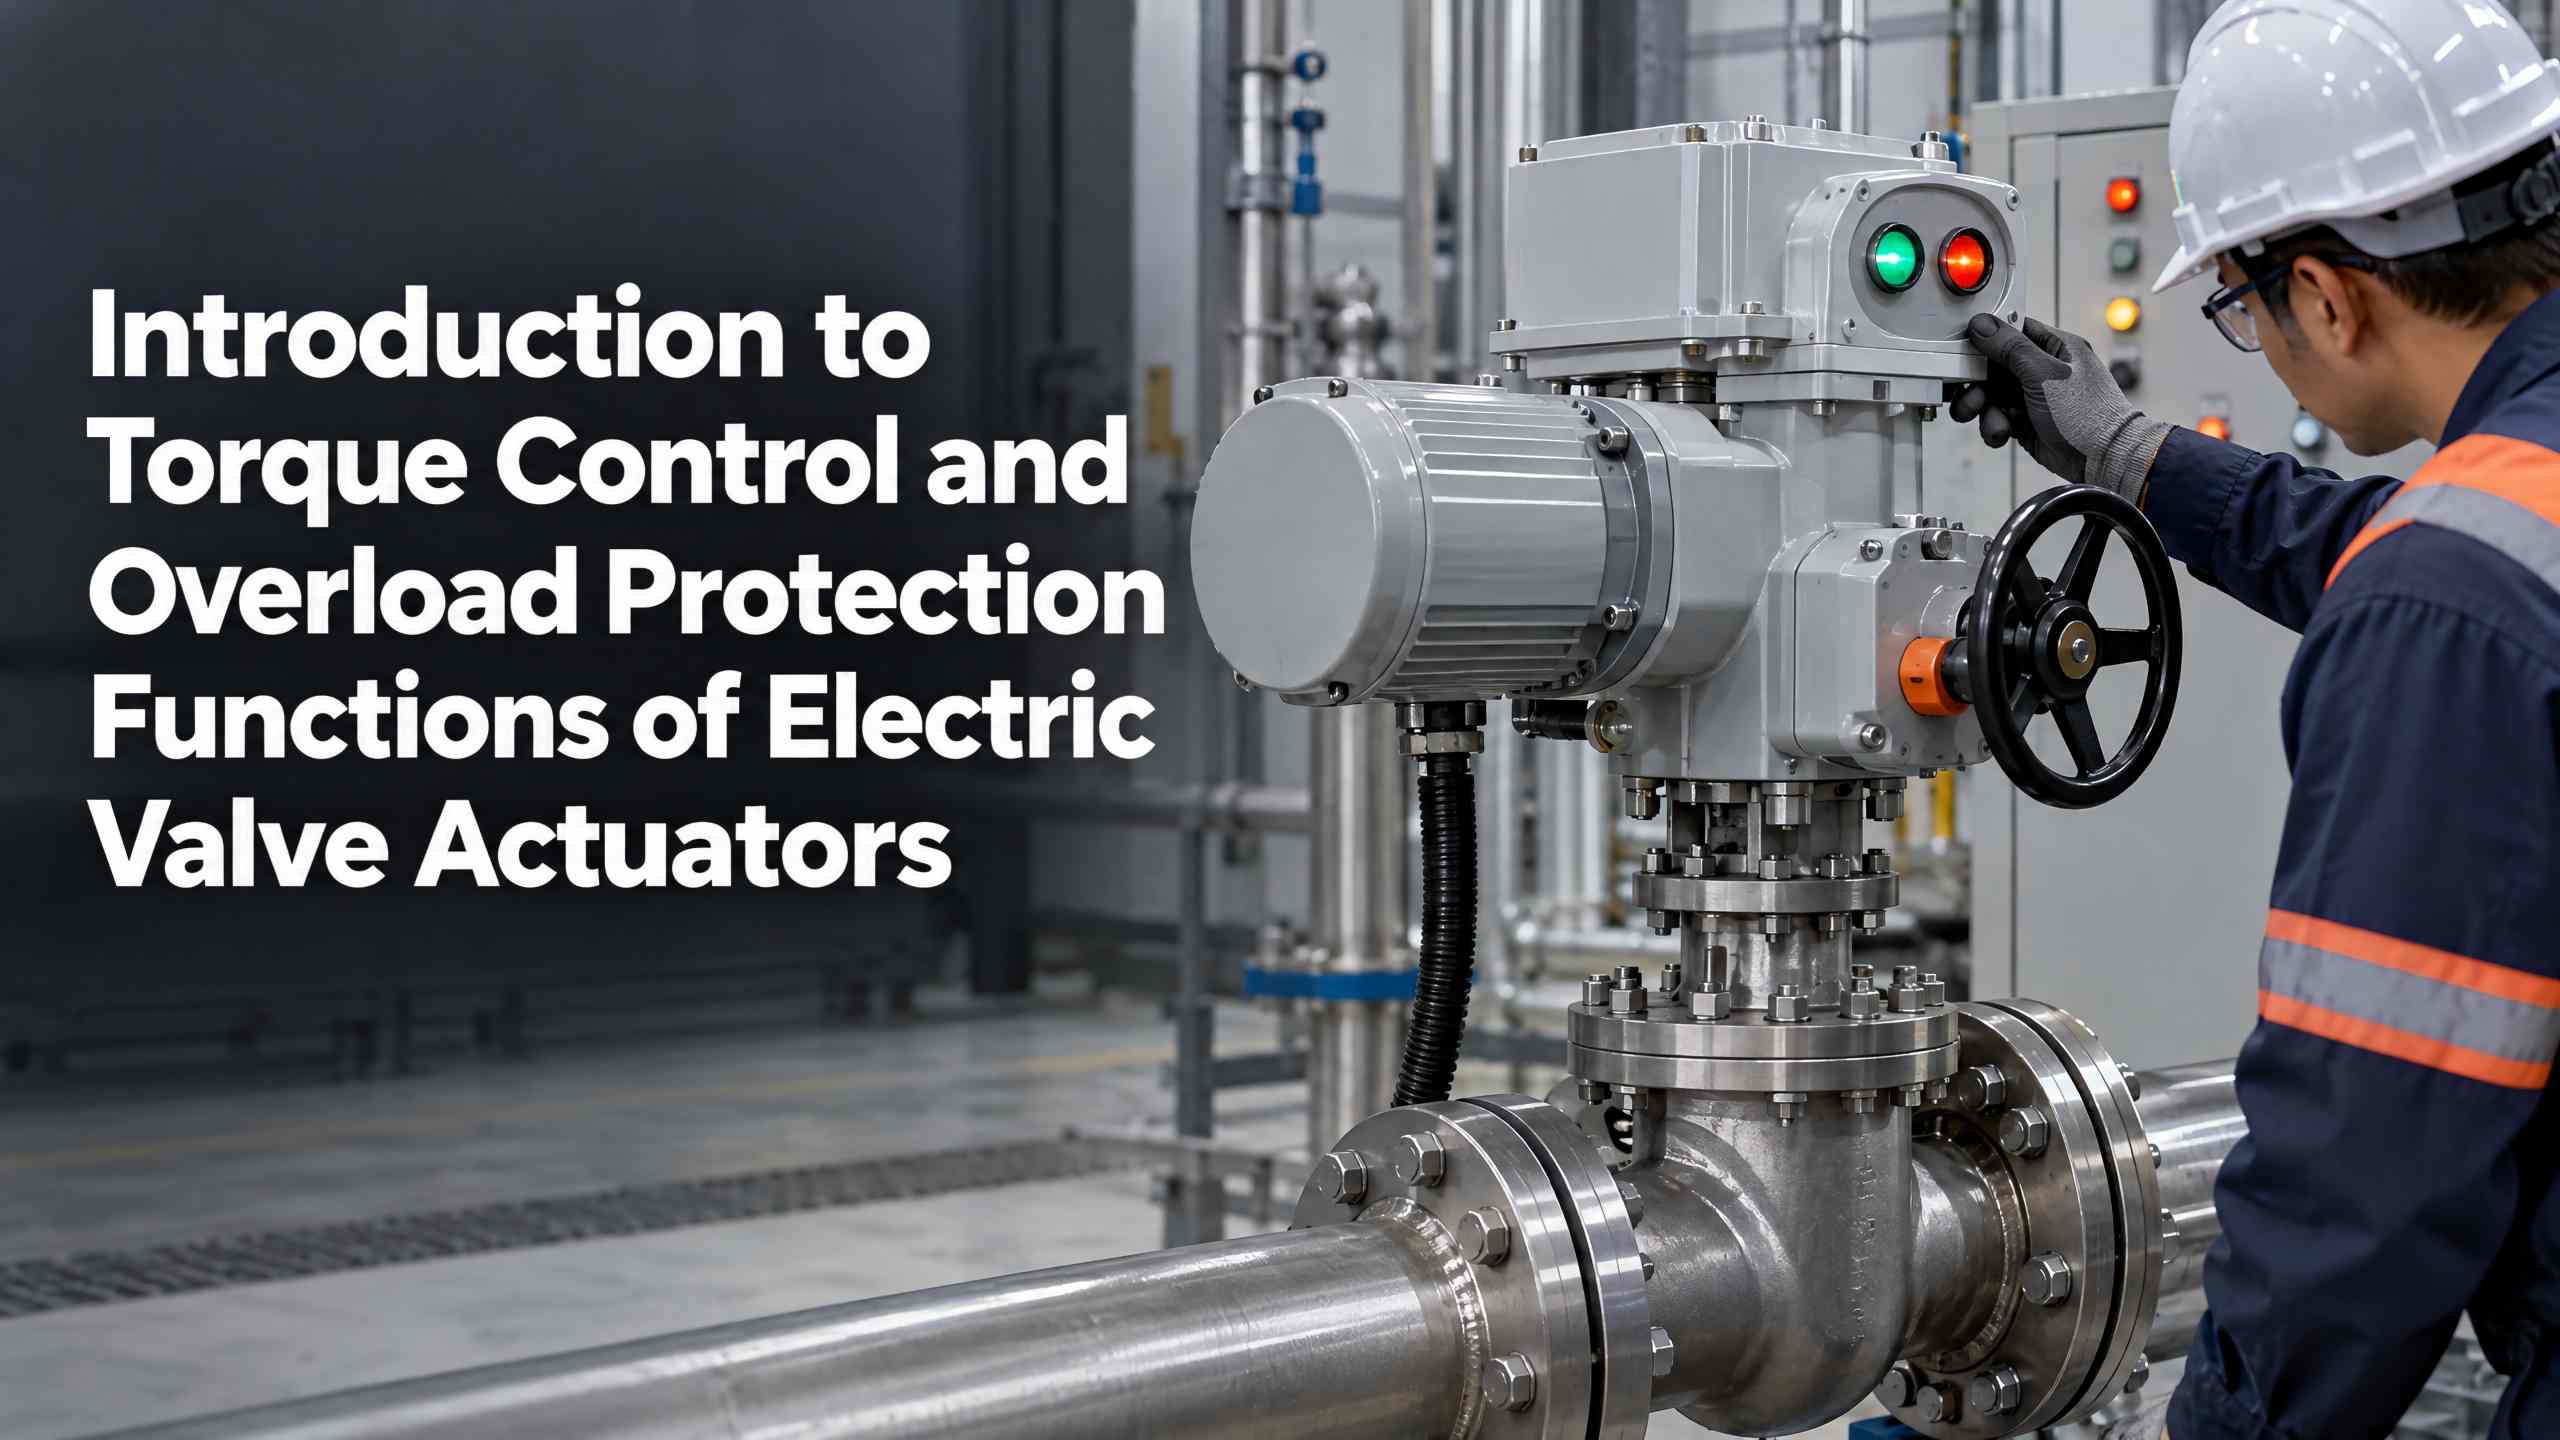
Valen Tech explains electric valve actuator torque control and overload protection functions. Learn how multi‑turn & part‑turn actuators prevent jamming and mechanical damage for petroleum, chemical, power and water pipeline systems.
Introduction to Torque Control and Overload Protection Functions of Electric Valve Actuators