How to Maintain Rack and Pinion Pneumatic Actuator
How to Maintain Rack and Pinion Pneumatic Actuator for Long Term Reliability
If you work in industrial automation, you’ve likely encountered a rack and pinion pneumatic actuator. These compact, powerful devices are the go-to choice for quarter-turn valve operation — opening and closing ball valves, butterfly valves, and dampers with precision and speed.
They’re known for their durability, high torque output, and smooth motion. But like any mechanical system, they don’t last forever — not unless you give them proper care.
So how do you keep a rack and pinion actuator running smoothly for years? What should you check? When should you service it?
Let’s walk through the real-world maintenance of these workhorse actuators — not as a dry checklist, but as a practical guide written for engineers, technicians, and maintenance teams who keep things running on the shop floor.
What Is a Rack and Pinion Pneumatic Actuator?
Before we talk about maintenance, let’s make sure we’re all speaking the same language.
A rack and pinion pneumatic actuator converts linear air pressure into rotary motion using two key parts:
- The rack: a toothed piston rod that moves back and forth when air is applied.
- The pinion: a small gear connected to the output shaft that rotates when the rack pushes against it.
When compressed air (typically between 60–100 psi, as outlined in Valen Tech Co., Ltd.’s article) enters one side of the cylinder, it drives the rack forward, turning the pinion — and thus the valve — by 90°. Reversing the airflow returns it to its original position.
It’s simple, effective, and widely used across industries like oil & gas, water treatment, food processing, and power generation.
But even the best-designed systems wear down over time. That’s why regular maintenance isn’t optional — it’s essential.
Why Should You Maintain a Rack and Pinion Actuator?
Because failure doesn’t always come with warning signs — until it does.
Imagine this scenario: You're relying on an actuator to shut off a critical process line during an emergency. But when the signal comes… nothing happens. Or worse — it starts moving slowly, then stops halfway.
Now production halts. Safety systems are compromised. Maintenance crews scramble.
Most of these situations can be avoided with routine care.
Regular maintenance helps prevent:
- Unexpected downtime
- Valve leakage due to incomplete closure
- Costly emergency repairs
- Damage to downstream equipment
More importantly, it ensures your actuator will perform when you need it most — especially under pressure.
How Often Should You Inspect Your Actuator?
There’s no one-size-fits-all answer, but here’s a solid rule of thumb:
✅ Monthly visual inspections
✅ Quarterly functional checks
✅ Annual deep maintenance or rebuilds (depending on usage)
Of course, harsh environments — like offshore platforms, chemical plants, or washdown zones — may require more frequent attention.
Ask yourself:
- Is the actuator exposed to moisture, dust, or corrosive chemicals?
- Does it cycle hundreds or thousands of times per day?
- Is it part of a safety-critical system?
If yes to any of these, step up your inspection schedule.
Think of it like changing the oil in your car: skip it once, and you might be fine. Skip it repeatedly, and you’re inviting trouble.
What Should You Look For During Visual Inspection?
Start simple. Walk up to the actuator and take a close look.
Here’s what to watch for:
🔍 Signs of Air Leaks
Look around the rod ends, fittings, and housing seams. A steady puff of air or oily residue means seals are failing.
Even small leaks reduce efficiency and increase compressor load — costing energy and money.
🔍 Corrosion or Physical Damage
Check the aluminum body, stainless steel shaft, and mounting brackets. White powdery spots? That’s oxidation. Rust on fasteners? That’s a red flag.
Corrosion weakens structural integrity and can lead to binding or seizure.
🔍 Misalignment or Loose Mounting
Is the actuator sitting crooked? Are bolts loose? Vibration over time can loosen hardware, leading to uneven wear and premature failure.
Also inspect the coupling between the actuator shaft and valve stem. If it’s worn or cracked, replace it before it fails mid-cycle.
Do the Seals Need Lubrication — And How?
Yes — and this is often overlooked.
The internal piston seals and rod wipers rely on a thin film of lubricant to slide smoothly and resist wear. Over time, especially in dry air systems, that lubrication dries out.
But here’s the catch: you don’t add oil from the outside — at least not directly into the actuator.
Instead, lubrication should come from the air supply line via a properly maintained FRL unit (Filter-Regulator-Lubricator).
Here’s How It Works:
- The lubricator adds a fine mist of pneumatic oil into the compressed air stream.
- As air flows into the actuator, it carries that oil with it, coating internal surfaces.
- This keeps seals supple and reduces friction.
Important Notes:
🚫 Never inject oil directly into the actuator ports unless specified by the manufacturer.
✅ Use only ISO VG32 or equivalent pneumatic oil — heavier oils can gum up valves.
✅ Replace the lubricator bowl regularly and refill with clean oil.
If your system uses non-lubricated air (common in food-grade or cleanroom applications), ensure the actuator is designed for dry running — usually marked as “lubrication-free” with special PTFE or composite seals.
When Should You Rebuild the Actuator?
Time to open the box.
Even with perfect conditions, internal components wear out. After tens or hundreds of thousands of cycles, seals harden, pistons score, and performance drops.
So when should you consider a full rebuild?
Consider Rebuilding If:
- The actuator moves sluggishly or stalls under load
- There’s noticeable internal air leakage (e.g., slow drift after positioning)
- Rod seals are leaking externally
- You’ve had repeated failures despite good air quality
- It’s been 3–5 years in continuous service
A typical rebuild includes:
- Replacing all dynamic seals (piston O-rings, rod wipers)
- Inspecting gears for tooth wear or pitting
- Cleaning internal cylinders
- Checking spring cartridges (if double-spring assist model)
- Reassembling with fresh lubricant
Many manufacturers offer rebuild kits with everything you need — making field servicing faster and cheaper than replacement.
And yes, most rack and pinion actuators are designed to be disassembled and rebuilt multiple times — that’s part of their value.
Can You Test the Actuator Without Removing It?
Absolutely — and you should.
Functional testing lets you catch issues before they become emergencies.
Here’s how to test safely and effectively:
Step 1: Isolate the Air Supply
Shut off and lock out the air line. Follow LOTO procedures.
Step 2: Manually Operate the Valve
Use the manual override (lever or handwheel) to move the actuator through its full stroke.
Does it turn smoothly? Any grinding, sticking, or resistance?
Stiffness could mean internal damage, lack of lubrication, or valve problems.
Step 3: Restore Air and Cycle It
Reconnect air and send control signals.
Watch for:
- Smooth, consistent motion
- Full 90° rotation (use a degree indicator if needed)
- No hesitation or jerking
- Proper exhaust sounds from both ports
If it hesitates on one stroke, suspect low pressure, blocked tubing, or seal wear.
Step 4: Check Position Feedback (If Equipped)
For modulating systems with limit switches or positioners, verify that feedback signals match actual position.
False signals cause confusion in control rooms and can mask deeper issues.
What Role Does Clean Air Play in Longevity?
Huge — maybe the biggest factor of all.
Rack and pinion actuators depend on clean, dry, regulated air. Contaminants are silent killers.
Moisture
Water in the air causes rust inside the cylinder. Even small amounts condense into droplets that corrode metal surfaces and degrade seals.
Over time, this leads to scoring, increased friction, and seal failure.
Particulates
Dirt, pipe scale, or welding slag can get trapped in the cylinder or jam directional control valves.
These particles act like sandpaper, accelerating wear on seals and pistons.
Oil Mist (Wrong Kind)
While some lubrication is good, too much or the wrong type (like hydraulic oil) creates sludge that clogs small passages.
So, How Do You Ensure Clean Air?
Simple: maintain your FRL unit religiously.
✅ Drain the filter bowl daily (or use automatic drains).
✅ Replace filter elements when dirty.
✅ Set regulator to correct pressure (usually 80 psi; never exceed max rating).
✅ Refill lubricator with proper oil — and confirm oil is actually being delivered.
Treat your FRL like the guardian of your actuator’s health — because it is.
Maintenance Isn’t Extra Work — It’s Smart Work
A rack and pinion pneumatic actuator is a smart investment — durable, efficient, and reliable. But its lifespan depends entirely on how well you treat it.
Maintenance isn’t about fixing what’s broken. It’s about preventing breakdowns before they happen. It’s about catching a worn seal today so you don’t face an unplanned shutdown tomorrow.
At Valen Tech Co., Ltd., we design our actuators with serviceability in mind — easy access, standard components, clear documentation. But the real magic happens in the field, in the hands of skilled technicians who know that a few minutes of inspection today saves hours of downtime later.
👉 Explore our full line of rack and pinion actuators
👉 Download maintenance guides or request technical support
Because when your actuators run right, your whole operation runs smoother.
And that’s something worth maintaining.


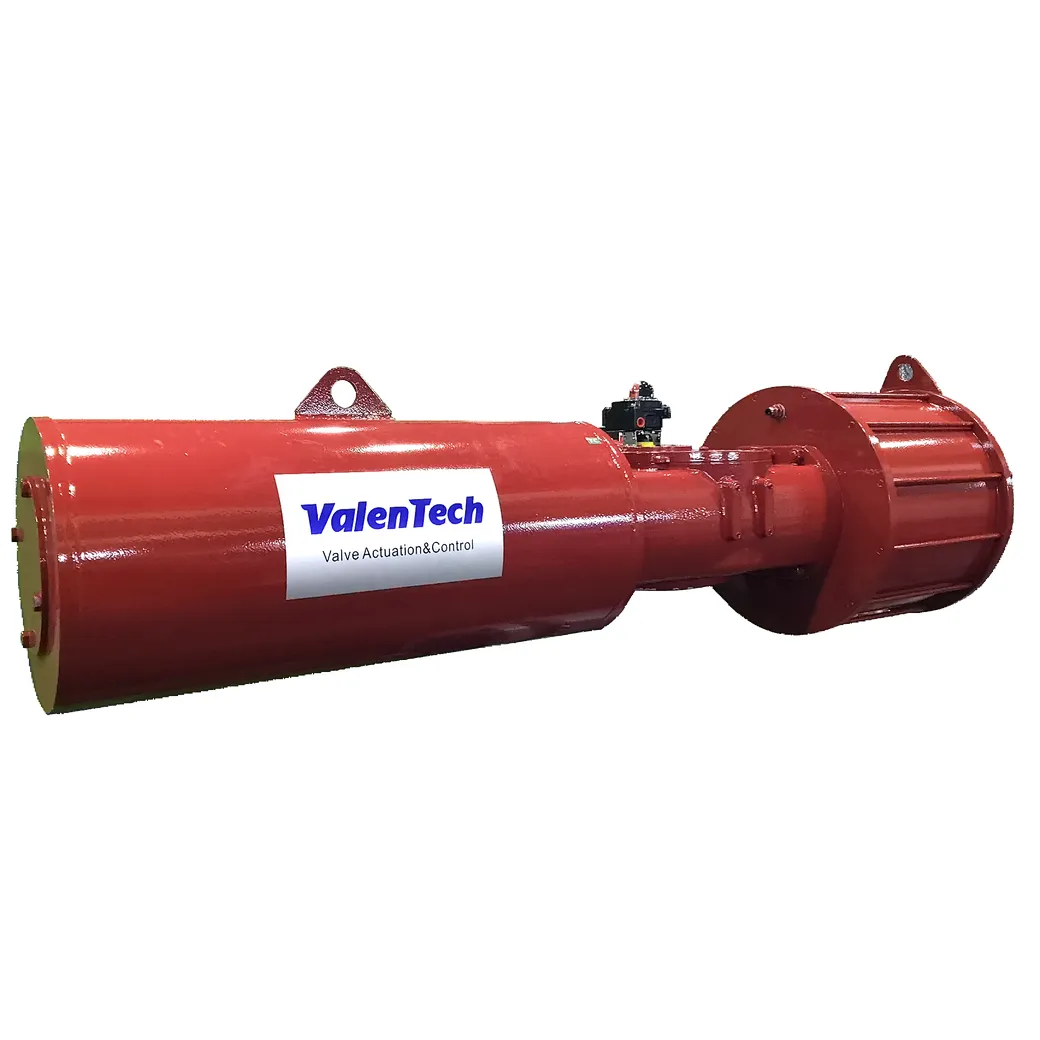


6 Key Tips for Selecting the Right Pneumatic Valve
How to Choose the Right Rack and Pinion Actuator
Related Article